Travel guide
Landed with an eSIM on iPhone? The Exact Settings Sequence
 נועה רגב5 min read
Turn off Airplane Mode, turn on Data Roaming for your eSIM line, turn off Data Roaming for your home line, and confirm your eSIM line is set as the default for cellular data. That's the whole sequence, and it all happens in Settings > Cellular on iPhone, following Apple's official guidance for using an eSIM while traveling abroad.
Key Takeaways
- Turn on Data Roaming for your eSIM line - without this, it won't connect to a network at your destination, even if it was installed correctly beforehand.
- Turn off Data Roaming for your home line - your home carrier line keeps running in the background even after the eSIM is installed, and can quietly rack up roaming charges.
- Check which line is set as the default for data - installing an eSIM doesn't automatically make it the active line. If the default is still your home line, all your browsing is still going through it.
The Step-by-Step Sequence
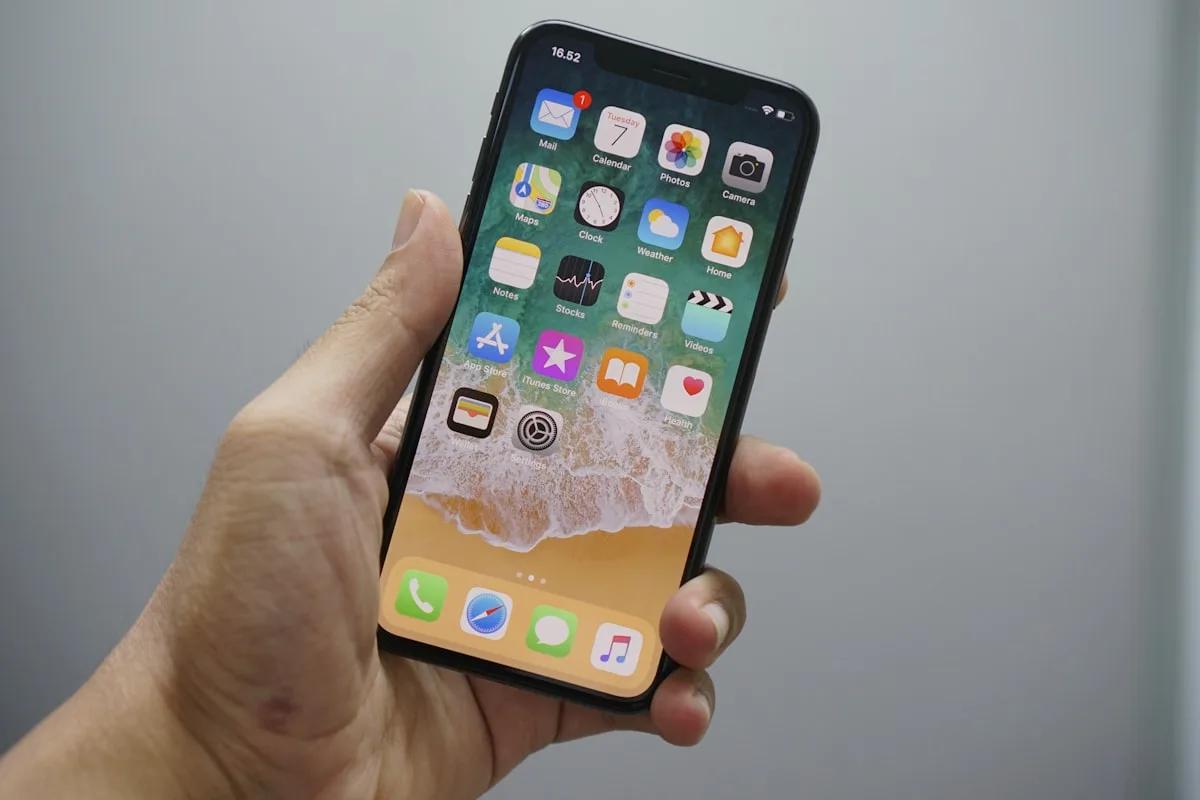
The order here matters. Do it exactly like this, the moment your plane lands and before you turn off Airplane Mode for good.
- Turn off Airplane Mode. Without this, no cellular line will connect, including the eSIM.
- Turn on Data Roaming for your eSIM line. Go to Settings > Cellular, and tap your travel eSIM line (not your home line). Go to Cellular Data Options and turn on Data Roaming. This is the step most people skip. An eSIM can be installed and active and still not connect to any network abroad, simply because Data Roaming is switched off for it.
- Turn off Data Roaming for your home line. In that same Settings > Cellular menu, this time tap your home line. Go into Cellular Data Options and turn off Data Roaming there. Your home line stays installed and active in the background even while the eSIM is working. If you don't turn off its roaming, it can connect to a local network on its own and rack up charges without you noticing.
- Check "Allow Cellular Data Switching." Still in Settings > Cellular, scroll down to Allow Cellular Data Switching and turn it off. When this setting is on, iOS can silently switch back to your home line if the eSIM's signal briefly weakens, which effectively undoes what you just did in the previous step, per Apple's official explanation of using an eSIM alongside a physical SIM.
- Confirm your eSIM line is set as the default for data. In the same menu, under the Cellular Data heading, you'll see both of your lines. The checkmark should be next to your eSIM line. If it's next to your home line instead, tap Cellular Data and select your eSIM line.
All five steps happen in the same single menu, Settings > Cellular, so there's no need to jump between screens.
Why this exact order matters: if you turn off your home line's roaming first and only then turn on roaming for the eSIM, there's a short window where both lines are off for data at the same time, and you'll have no signal at all during that moment. The sequence above starts with turning on the eSIM specifically to keep that window as short as possible.
All five steps are local settings on your phone only, and none of them require an active internet connection to carry out.
It's also worth noting the name that appears next to your eSIM line in the menu. It's often labeled "Secondary" or with the country/plan name you chose during installation, not necessarily "eSIM" in plain letters. If you're not sure which line is which, compare it to the phone number: your home line is the one with your regular home country number.
How to Confirm It Worked
Once you've finished the sequence, the most reliable check isn't the signal icon in the corner of the screen. It shows signal strength, not which line is actually handling your data. The reliable check is to go back to Cellular Data under Settings > Cellular and confirm the checkmark is next to your eSIM line. Then open any website or app and see that it loads. If you're still unsure, our full guide, how to confirm your eSIM, not your home SIM, is handling your data, covers this check in depth, including why it's worth repeating after a connecting flight or a software update.
Also worth remembering: turning off Data Roaming on your home line doesn't block calls or SMS from it abroad. Those will still be billed separately, according to your carrier's roaming rates. For a full breakdown, including why EU roaming price caps don't apply to a non-EU home line, see the guide how to avoid roaming charges from your home carrier abroad.
If You See "SOS" Instead of a Signal
If "SOS" or "SOS Only" appears in the corner of your screen instead of a network name, your phone isn't connecting to any cellular network at all, neither your home line nor the eSIM. Before assuming there's a problem with the plan itself, it's worth going through this checklist again:
- Airplane Mode is fully off.
- Data Roaming is on for your eSIM line (step 2 above).
- "Allow Cellular Data Switching" is off, so the two lines aren't competing for the network (step 4 above).
If you've checked all of these and still see SOS, it may be a temporary local coverage issue, for example inside a shielded building or on a subway, rather than a settings problem. In that case, the next step is to move to an open area and try again, or contact the app's support chat. If the issue is actually data running out faster than expected rather than a lack of signal, the guide is your eSIM data disappearing too fast? can help pinpoint the cause.
For installing the eSIM itself, before your flight, see the guide how to install an eSIM on iPhone.
Frequently asked questions
My eSIM on iPhone isn't working abroad. What should I check first?
Three things, in this order: that Data Roaming is on for your eSIM line (Settings > Cellular), that Data Roaming for your home line is off so it doesn't "grab" the network instead, and that your eSIM line is set as the default under "Cellular Data." In most cases the issue is one of these three, not a problem with the plan itself.
Why isn't my eSIM connecting even after I installed it?
Because installing and activating are two separate actions. Installing an eSIM profile adds it to your phone, but it won't connect to a network abroad until you turn on Data Roaming for it in Settings > Cellular, as covered in step 2 of the sequence above.
Do I need to repeat this sequence on every landing, even on a connecting flight?
Yes, at least check it. An automatic network reset, for example after moving between countries or a software update, can quietly revert settings to their previous default. A quick check on every landing beats finding out too late on your bill.
If I turn off roaming on my home line, can I still receive verification SMS (like a one-time code)?
Yes. Regular SMS, including verification codes, doesn't depend on Data Roaming being on. It travels over the line's basic cellular network, not as part of the data plan. You only turned off data roaming, not the line itself. The distinction between a cellular line and an eSIM profile comes from the eSIM standard itself, defined by GSMA, the international standards body for mobile carriers, and implemented the same way across all manufacturers.
What's the difference between this sequence and installing the eSIM itself?
These are two completely separate steps. Installation is a one-time task best done at home, before your flight, while you have a stable internet connection. Full instructions for that are in the guide how to install an eSIM on iPhone. The sequence in this article is what you do the moment you land, after the eSIM is already installed, to actually get it working.
Affordable travel data for your next trip
Pick your plan, pay one clear price, and land online in about a minute — low prices, no roaming-bill surprises.


